- TRANSCODE .MTS FILES INTO A .MOV FILE WITH ADOBE MEDIA ENCODER AND MPEG Streamclip
[High Definition Workflow]
- Open the program Media Encoder in the Applications folder.
- In Media Encoder, go to Preferences. In the General section, look under Output. Click on the “browse” button next to “specify output file destination” and select the folder that you just made in your External Hard Drive called MOV.
- From the MTS folder, drag the .MTS files and drop them into the Queue in Adobe Media Encoder. The Queue is the large window on the left.
- Uncheck the little box titled: “Auto encode watch folders” at the top.
- Click on the Triangle button under Format to pull up the drop down menu of formats. Choose Quicktime.
- Click on the Triangle Button under Preset to pull up the drop down menu of presets -----> If you shot 30fps, choose:

------> If you shot 24fps, choose:

- Press the green play button to begin converting.
- Now each .mts file should become an .mov file with the same name, in the folder called “MOV”. Close Adobe Media Encoder.
- In your VIDEO Folder (in your external drive) create a new folder and call it “PRO-RES”.
- Open the program MPEG Streamclip in the Applications folder.
- In MPEG Streamclip, go to List > Batch List:
- Go to Add Files and select your .mov files in your MOV folder. Then click To Batch.
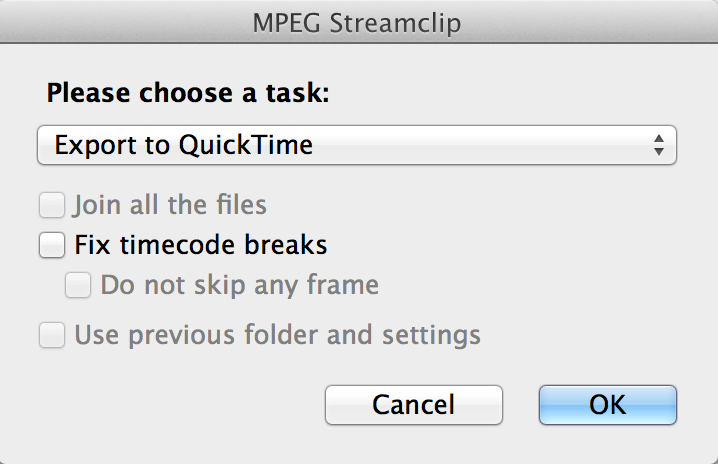
- A window will open. Select OK:

- In the new window, select the folder that you just made in your External Hard Drive called “PRO RES”.
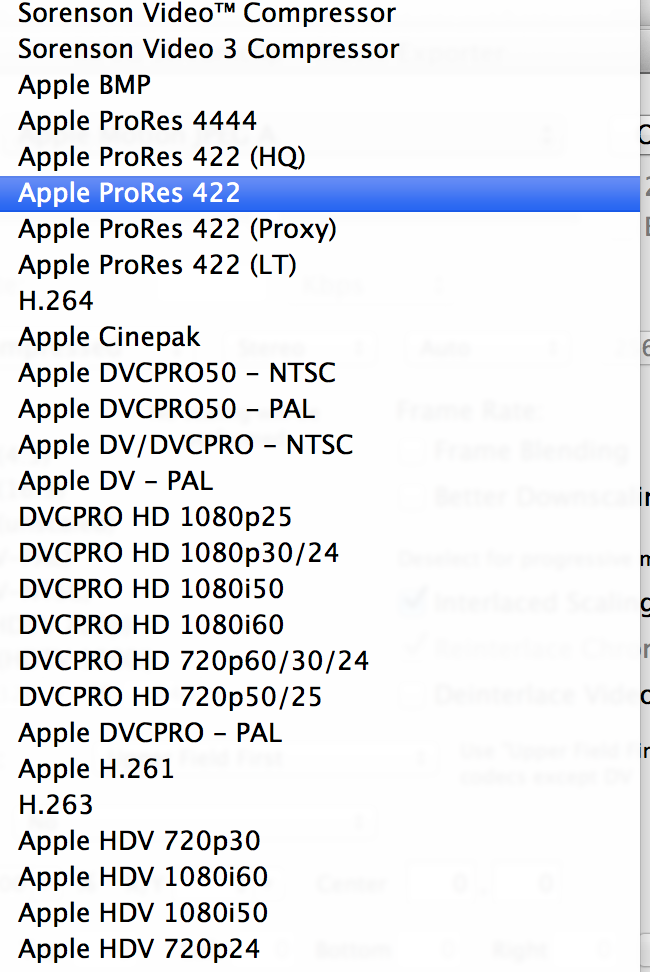
- Now, at the top of the window, in the Compression category, choose the Apple Pro Res setting from the pop-up menu:
- And set everything like this:

Note: At Frame Rate, type 29.97 if you shot 30fps; 23.98 if you shot 24fps.
After The batch, your files (In the “PRO RES” folder) are ready to be imported into Final Cut Express.
No comments:
Post a Comment
Note: Only a member of this blog may post a comment.